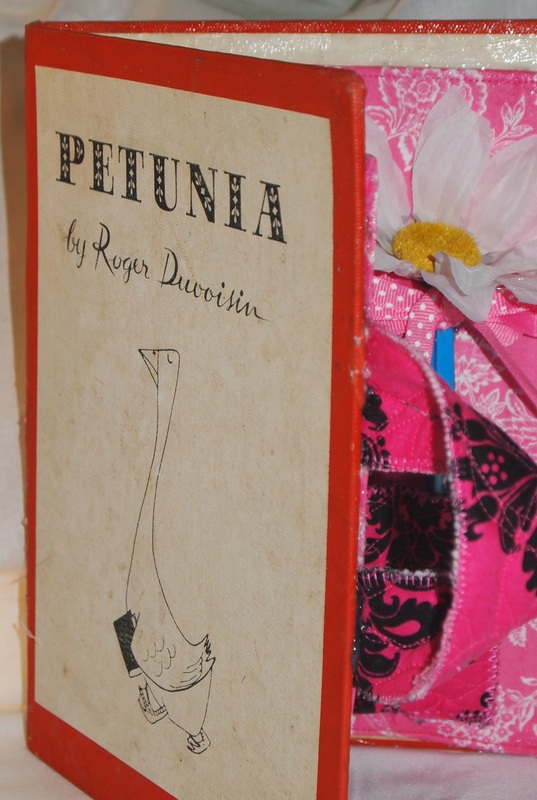
The FIRST thing to do is visit your local Goodwill store. I was blown away by all the books I found. There were so many I wanted, but at $1.50 - $3.00 each I knew I needed to limit myself. Think about WHO you might create this for and look for books that would be cute or appropriate. I have several books I'm working on now to put in my Etsy store that are definitely more masculine due to the titles, colors and illustration on the cover.
Because this first one was to be for Greer and she specifically asked Santa for a pen with a flower on top, I felt the title was definitely appropriate!
Because this first one was to be for Greer and she specifically asked Santa for a pen with a flower on top, I felt the title was definitely appropriate!
What to do First:
Just as the original post said, I removed the pages from the book with a sharp x-acto knife. Be careful...it's very easy to cut all the way to (or through!) the cover.
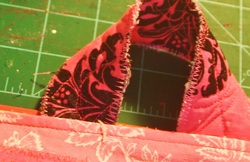
Once you get the pages out you need to add the handles. I didn't have any purse handles and was in a hurry. After looking through my scraps I found a piece of fabric I had quilted for a messenger bag I had made...perfect! I cut them together to make sure they were the same size and then reinforced the edges with a zig-zag stitch. Hot glue the fabric handles to the book making sure to center them on both sides. Try to get the hot glue as smooth as you can so that it doesn't show too much when you add the next piece. The original post tells how to make loops and add pre-made handles and definitely looks more sophisticated. But hey, I had to improvise!
Once you get the pages out you need to add the handles. I didn't have any purse handles and was in a hurry. After looking through my scraps I found a piece of fabric I had quilted for a messenger bag I had made...perfect! I cut them together to make sure they were the same size and then reinforced the edges with a zig-zag stitch. Hot glue the fabric handles to the book making sure to center them on both sides. Try to get the hot glue as smooth as you can so that it doesn't show too much when you add the next piece. The original post tells how to make loops and add pre-made handles and definitely looks more sophisticated. But hey, I had to improvise!
Choose and prepare your fabrics...
BEFORE you add the fabric pieces be SURE to cut some cardboard (I used 300 lb. watercolor paper...again I improvised!)
Cut to fit where the book "bends." You'll know where it goes because, well...it will be obvious. I decided to use Mod Podge to seal everything and secure the handles a little bit more.
Next, choose the fabric you want to cover the inside of the book and coordinating fabric for the crayon pockets. I dug around and found some lighter pink material that worked with the quilted fabric.
Since I was in a hurry, you'll notice that this carrier is NOT as neat and tidy as the one in the original Pinterest post. I laid the book on the WRONG SIDE of the light pink fabric and drew a line around the book. Then I ran to my ironing board, turned under about 1/2" and ironed it to make it easier to sew. I then top-stitched all the way around the fabric. That was easy!
Here is the toughest part...
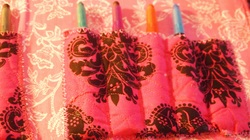
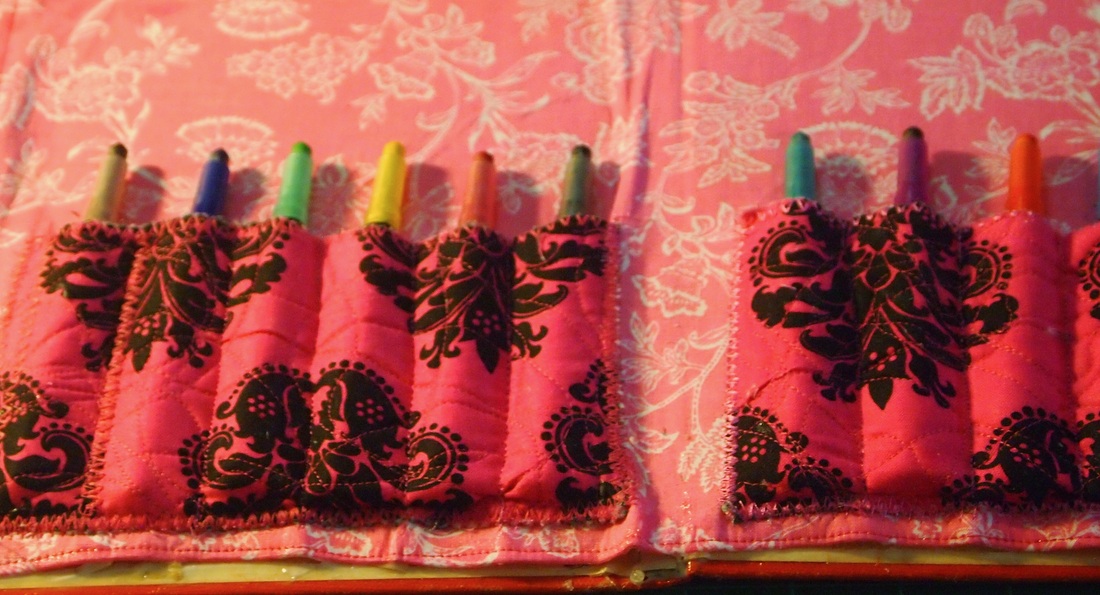
This turned out to be the trickiest part for me. Thank goodness I "practiced" on a scrap piece of fabric first! I knew that I needed 11 places for crayons (10 for crayons and 1 for her special pen.) On my scrap fabric I sewed about an inch apart. When I tried to add the crayons (I used the screw-up kind) the slot was just too small. So, I tried again...this time sewing a seam, placing a crayon beside it, and then sewing the next seam. Perfect!
I was then ready to sew on my cover fabric.
I took the crayons with me to the sewing machine and actually "sewed them in." ( Oh...before this make sure you zigzag or use a fancy stitch around the edges of the fabric that the crayons go in.) Once you've sewn your slots for the crayons it's time to put the entire thing together.
Putting it all together...

The final step is to attach your fabric piece to the book. I used Aileen's Craft Glue but you could hot glue it if you needed to...just be sure to smooth out the lumps without scorching your hand!
As you can see in the photo, my fabric piece DID NOT line up with the inside cover edges. I was okay with that: it was for a 3 year old and she wouldn't notice!
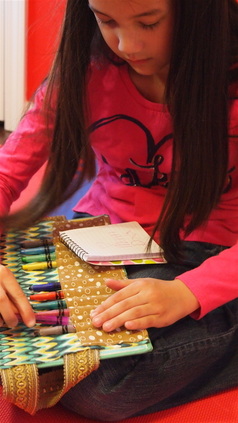
The whole thing turned out beautifully! THIS IS DEFINITELY A PINTEREST PROJECT YOU SHOULD TRY...BE SURE TO REFER TO THE ORIGINAL POST FOR MORE IN-DEPTH INSTRUCTIONS.
As you can see in the photo, my fabric piece DID NOT line up with the inside cover edges. I was okay with that: it was for a 3 year old and she wouldn't notice!
The whole thing turned out beautifully! THIS IS DEFINITELY A PINTEREST PROJECT YOU SHOULD TRY...BE SURE TO REFER TO THE ORIGINAL POST FOR MORE IN-DEPTH INSTRUCTIONS.